Overview:
Have you ever watched the news? Of course you have. Well then, as an expert, you will know that at the end of the news, there tends to be a meteorologist flailing their hands about in front of a map of the UK. The reason for their flailing is that they have only a rough idea of where the various areas of the UK are in relation to their hands. You see the map is not there, it is added in by clever technology that replaces a green background with a desired image.
The reason for this condescension, is that I am trying to convey that with Green Screen from Westcott, you to can have the power to be photographed in any situation you desire. As long as you have a photo of it, you can be there. Green Screen allows you to use this technology at home, so with just a camera, and the kit, you can appear in deep space, or under the sea, even presenting the weather. So without further ado, lets crack on, and see if it is as good as you might imagine.
Review:
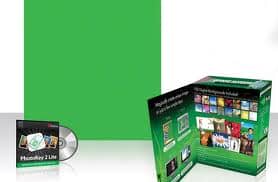
So, what do you get in the box if you buy Green Screen? You get the FX Home PhotoKey 2 Light software, 100 varied digital backgrounds, a 5′ x 7′ green sheet with holes for hanging, and two self adhesive hooks. The first thing to do is hang the green sheet on a wall big enough to house it. As mentioned, you are provided with some sticky backed hooks that you can pull off when you are done. These proved to be slightly less sticky than you might hope, and the green screen fell to the floor on a number of occasions. After a while, and a bit of fiddling with sticky pads, the screen was up, and the photography could happen.

The screen encompassed my bulk without problems, and can be hung either in a landscape, or a portrait configuration. The rest is quite simple in terms of the photography. Stand in front of the screen and strike the desired pose, and have your photo taken. The next step is then to upload the photos to your computer, and import them into the software.
The software you get is FXhome Photokey 2 Lite. The difference between the Light and full fat version are that the Masks function, and some of the effects are not available to you, as well as some of the filters and some of the more advanced tools. The Masks function allows you to fix some of the imperfections that you might get in a photo, like invisible green clothing. I thought that the Masks feature would be something they might like to give you in a green screen scenario, and clicking on it give you a link to where you can buy the full version. This is the same for quite a few of the functions, and had you just bought this, you might be forgiven for feeling a bit short changed.
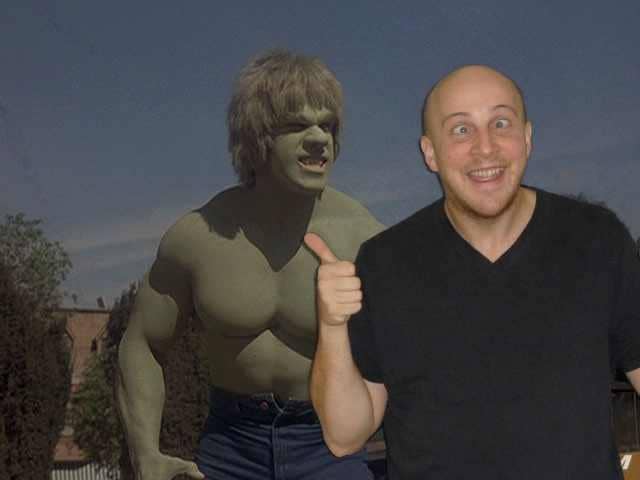
However, having installed the software, in a quick and painless fashion, the whole process in fantastically easy, and really very good at removing the green screen background. I had feared that because the sheet came folded, the differences in shade where the creases were would throw the software out. I need not have worried as the whole background was completely eradicated. The only problem I had was of my own making. I had left a picture hanging on the wall, and the flash had reflected back, leaving a white circle in my pictures.
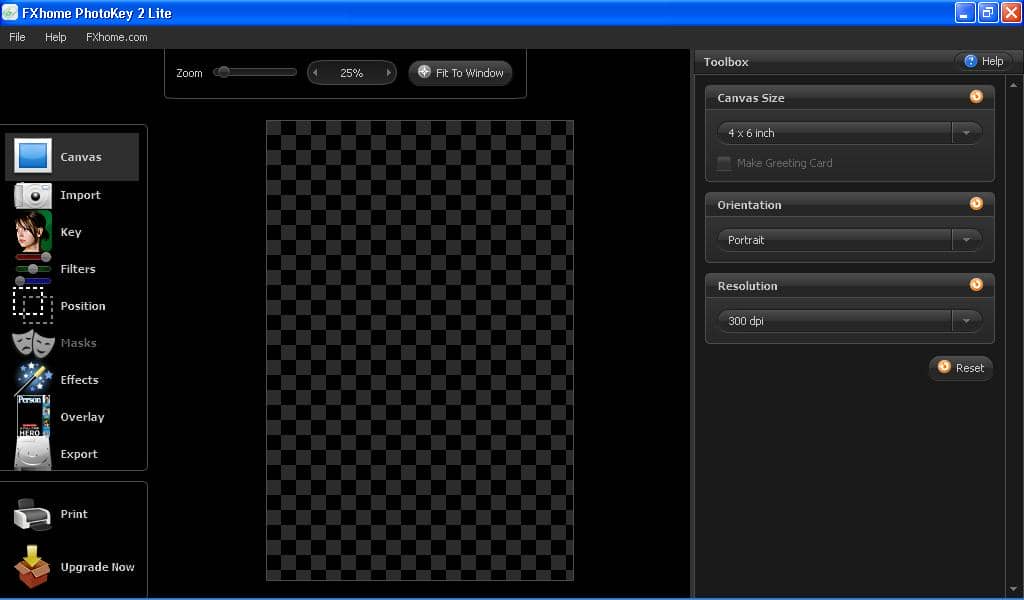
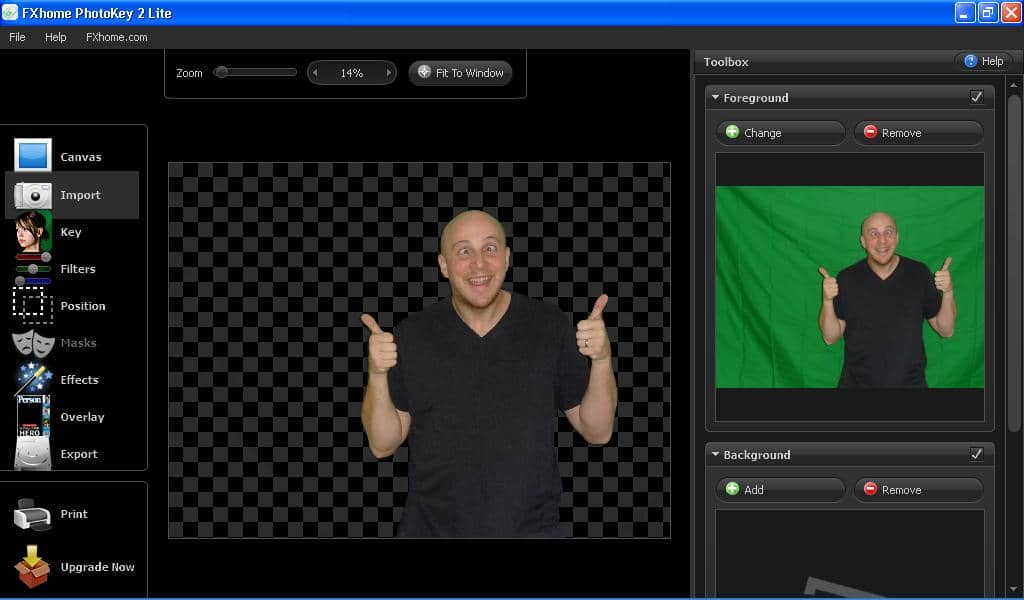
The software hand holds you through the stepped process. First you select your canvas size. There are many to choose from, postcard size, A4, to name but two, or you can have it use the photo as the template. Once the photo is imported, the green background is automatically removed, and the background can be added. The background can be anything you want, they have included 100 backgrounds as part of the package, but you can use any photo you wish. In fact, although 100 backgrounds sounds impressive, you are quickly discounting many of them due to suitability.
Next you go to the Key section, where you can crop some of the foreground, and play about with the amount of processing done to the green screen. It is also where the limitations of the lite version of the software start to become apparent. Clicking on the UV Blur setting tells you what it does, and gives you a link to where you can spend your money. Next is the filters section, where half of the options are greyed out. You can however, play with the main options of contrast, brightness, saturation and blur. In effect the main options you would hope to have. Incidentally, all the options you can manipulate, can be applied to both the foreground and the background independently.
You go on then to position your foreground and background in such a way as makes sense. You can adjust sizes of both photos, and change the rotation, and flip them on the horizontal or vertical axis. You then skip Masks, and you practically skip effects, as the only effect available it the transparency effect. You can add a overlay, but there are no templates available, although, you guessed it, you can buy them from the FXhome website! Lucky us.

The last couple of steps take you on to either export the image as a .jpg, .png, or a .tiff. All of which are welcome. You can also choose to print the image directly to your printer. Thoughtfully, they have also included a final step that allows you to upgrade to the full version of Photokey. Notice a pattern emerging here?
The Gaj-It Verdict:
Design: 7/10
Usability: 9/10
Features: 4/10
Value: 4/10
We Say:
A fun idea, and easy to do. Unfortunately hobbled by the lite version of the software. Available for purchase at around £60.00 it seems a bit steep considering you could buy a copy of Photoshop Elements for £10 less and achieve similar results, all be it with a bit more work. But you would have software capable of doing so much more.